


From the Amplify documentation, we can consider that AWS Amplify is a development platform for building secure, scalable mobile and web applications. It makes it easy for you to authenticate users, securely store data and user metadata, authorize selective access to data, integrate machine learning, analyze application metrics, and execute server-side code. Amplify covers the complete mobile application development workflow from version control, code testing, to production deployment, and it easily scales with your business from thousands of users to tens of millions.
Amplify provides a set of features such as Auth, Analytics, API (GraphQL and REST), Interactions, Predictions, PubSub, Storage, Push Notifications, and XR that enable you to build feature-rich serverless applications powered by AWS services.
One of these amazing features is the Storage one where Amplify use S3 Service to store our files.
From the Amplify documentation, we can easily set up the Storage module just doing the setup and insert the bucket on the aws-exports.js, or we can only use the Amplify CLI.
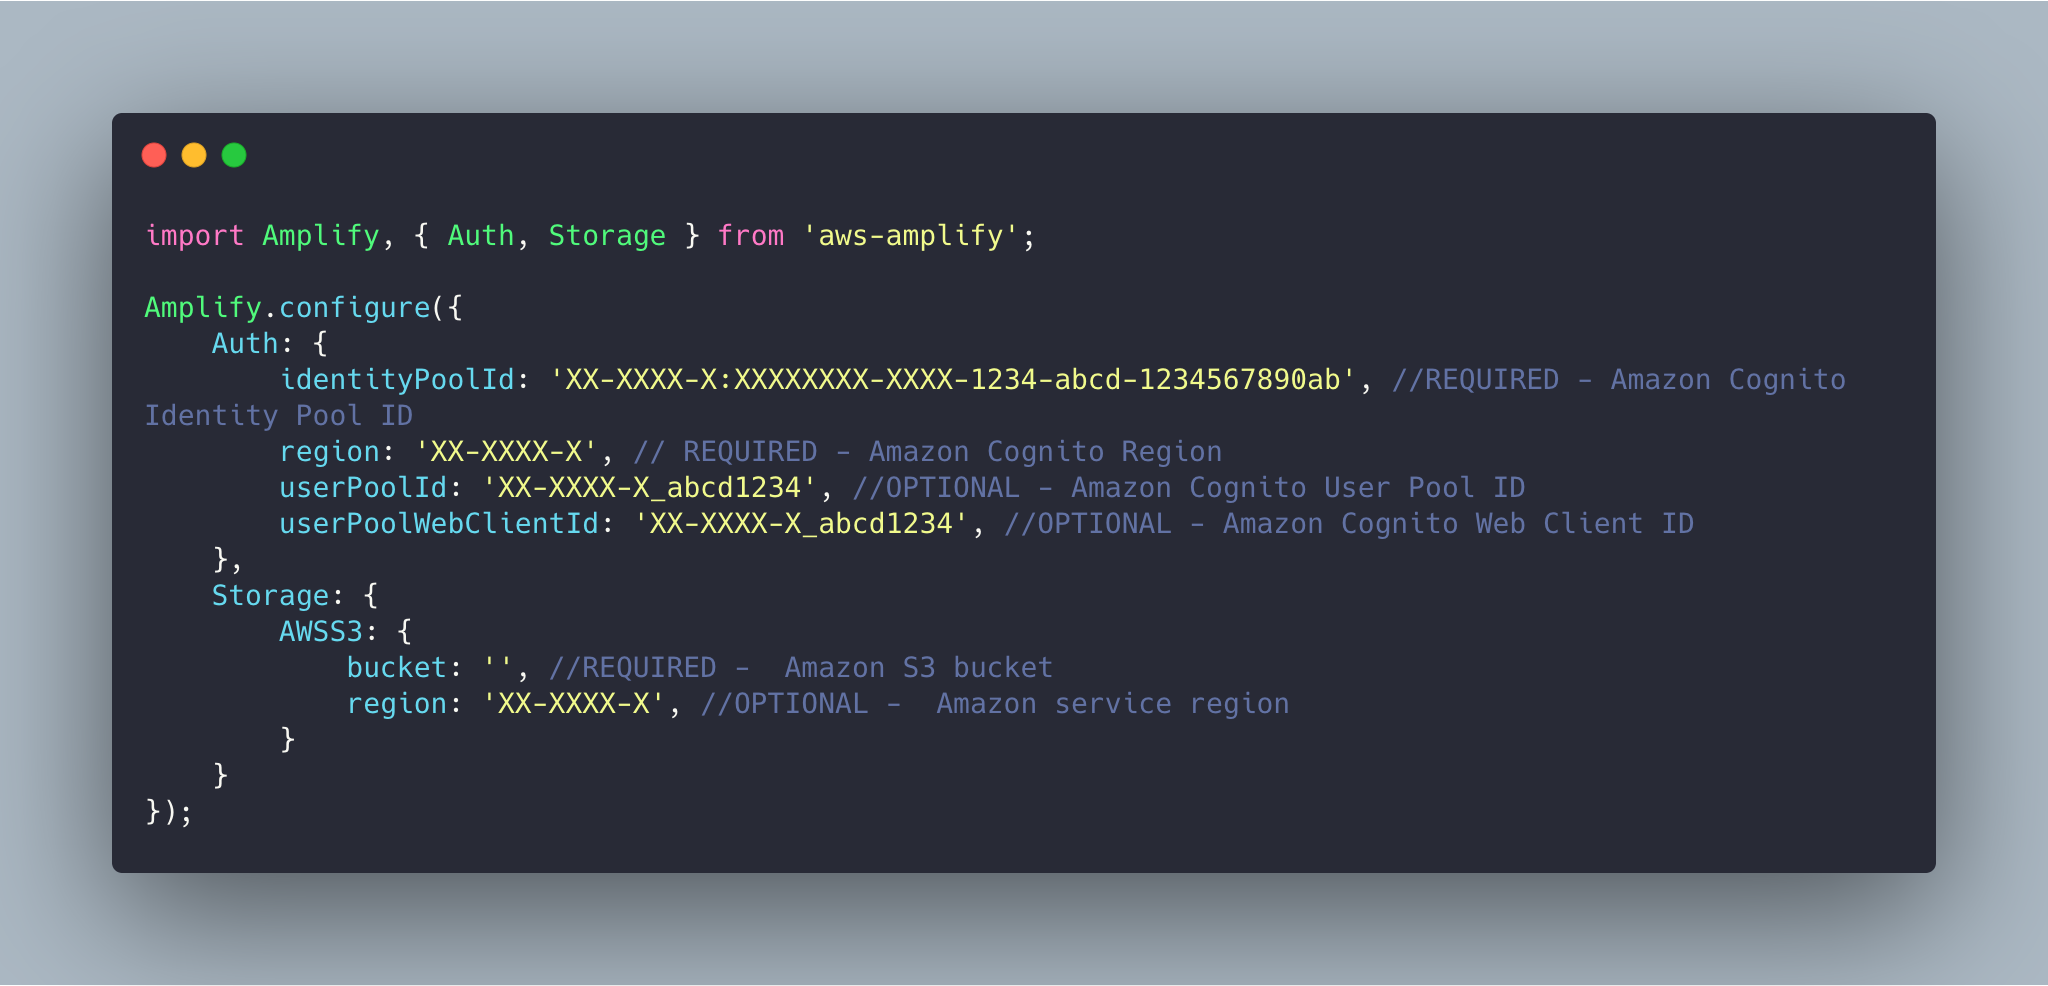 https://docs.amplify.aws/lib/storage/getting-started/q/platform/js#manual-setup-import-storage-bucket
As we can see, the documentation shows that the bucket name is mandatory and we can only define one.
So if we want to use the Amplify modules to upload or download files from more than one bucket we start facing some problems because we have just one bucket configured.
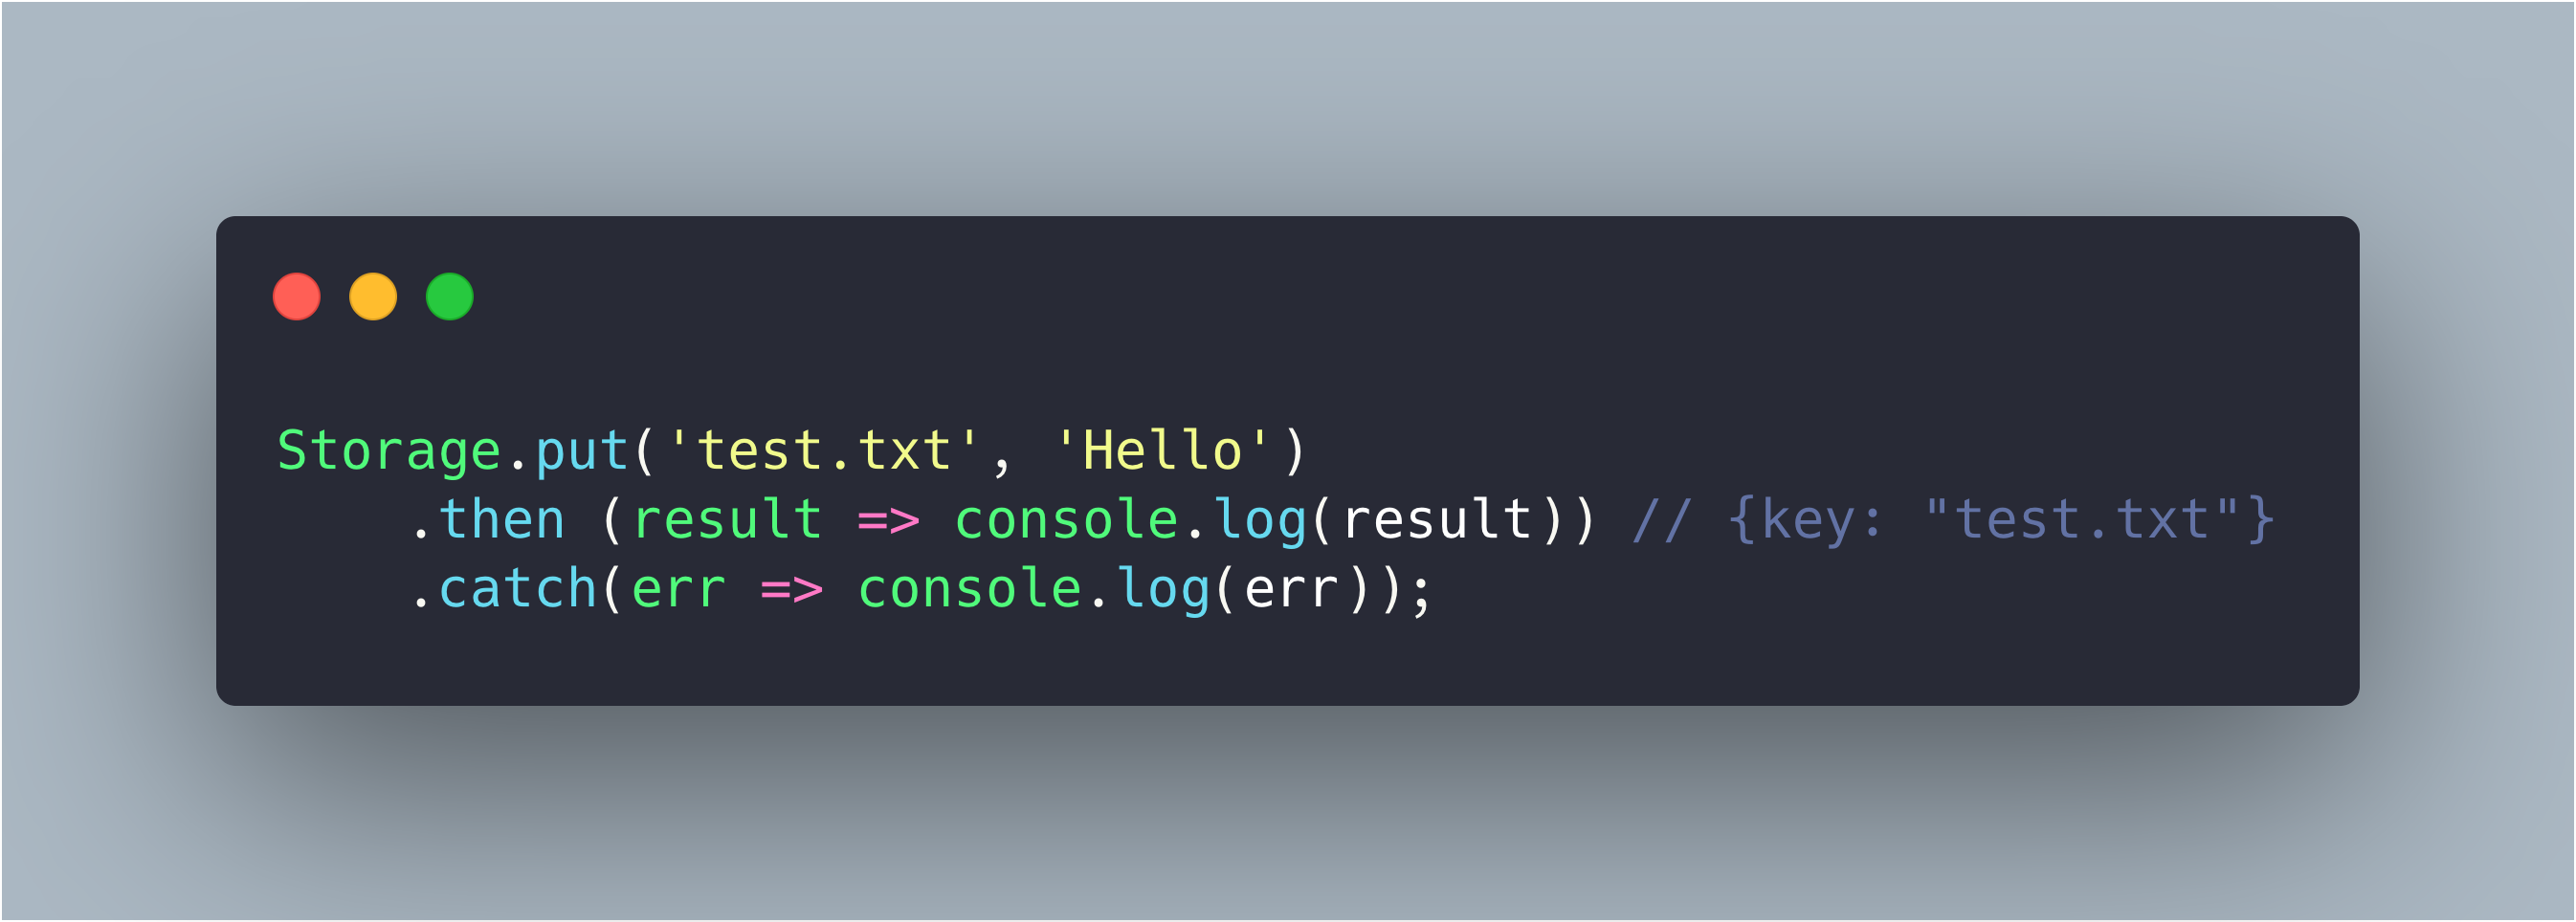
https://docs.amplify.aws/lib/storage/upload/q/platform/js
I started reading the Amplify documentation to find a way to solve this problem. I couldn’t find any way that could help me use multiple buckets in the same application.
After spending a few hours looking inside the source code of the library, I found a config object that is passed to the function and exposes several parameters interpreted by the provider. One of those parameters is the bucket.
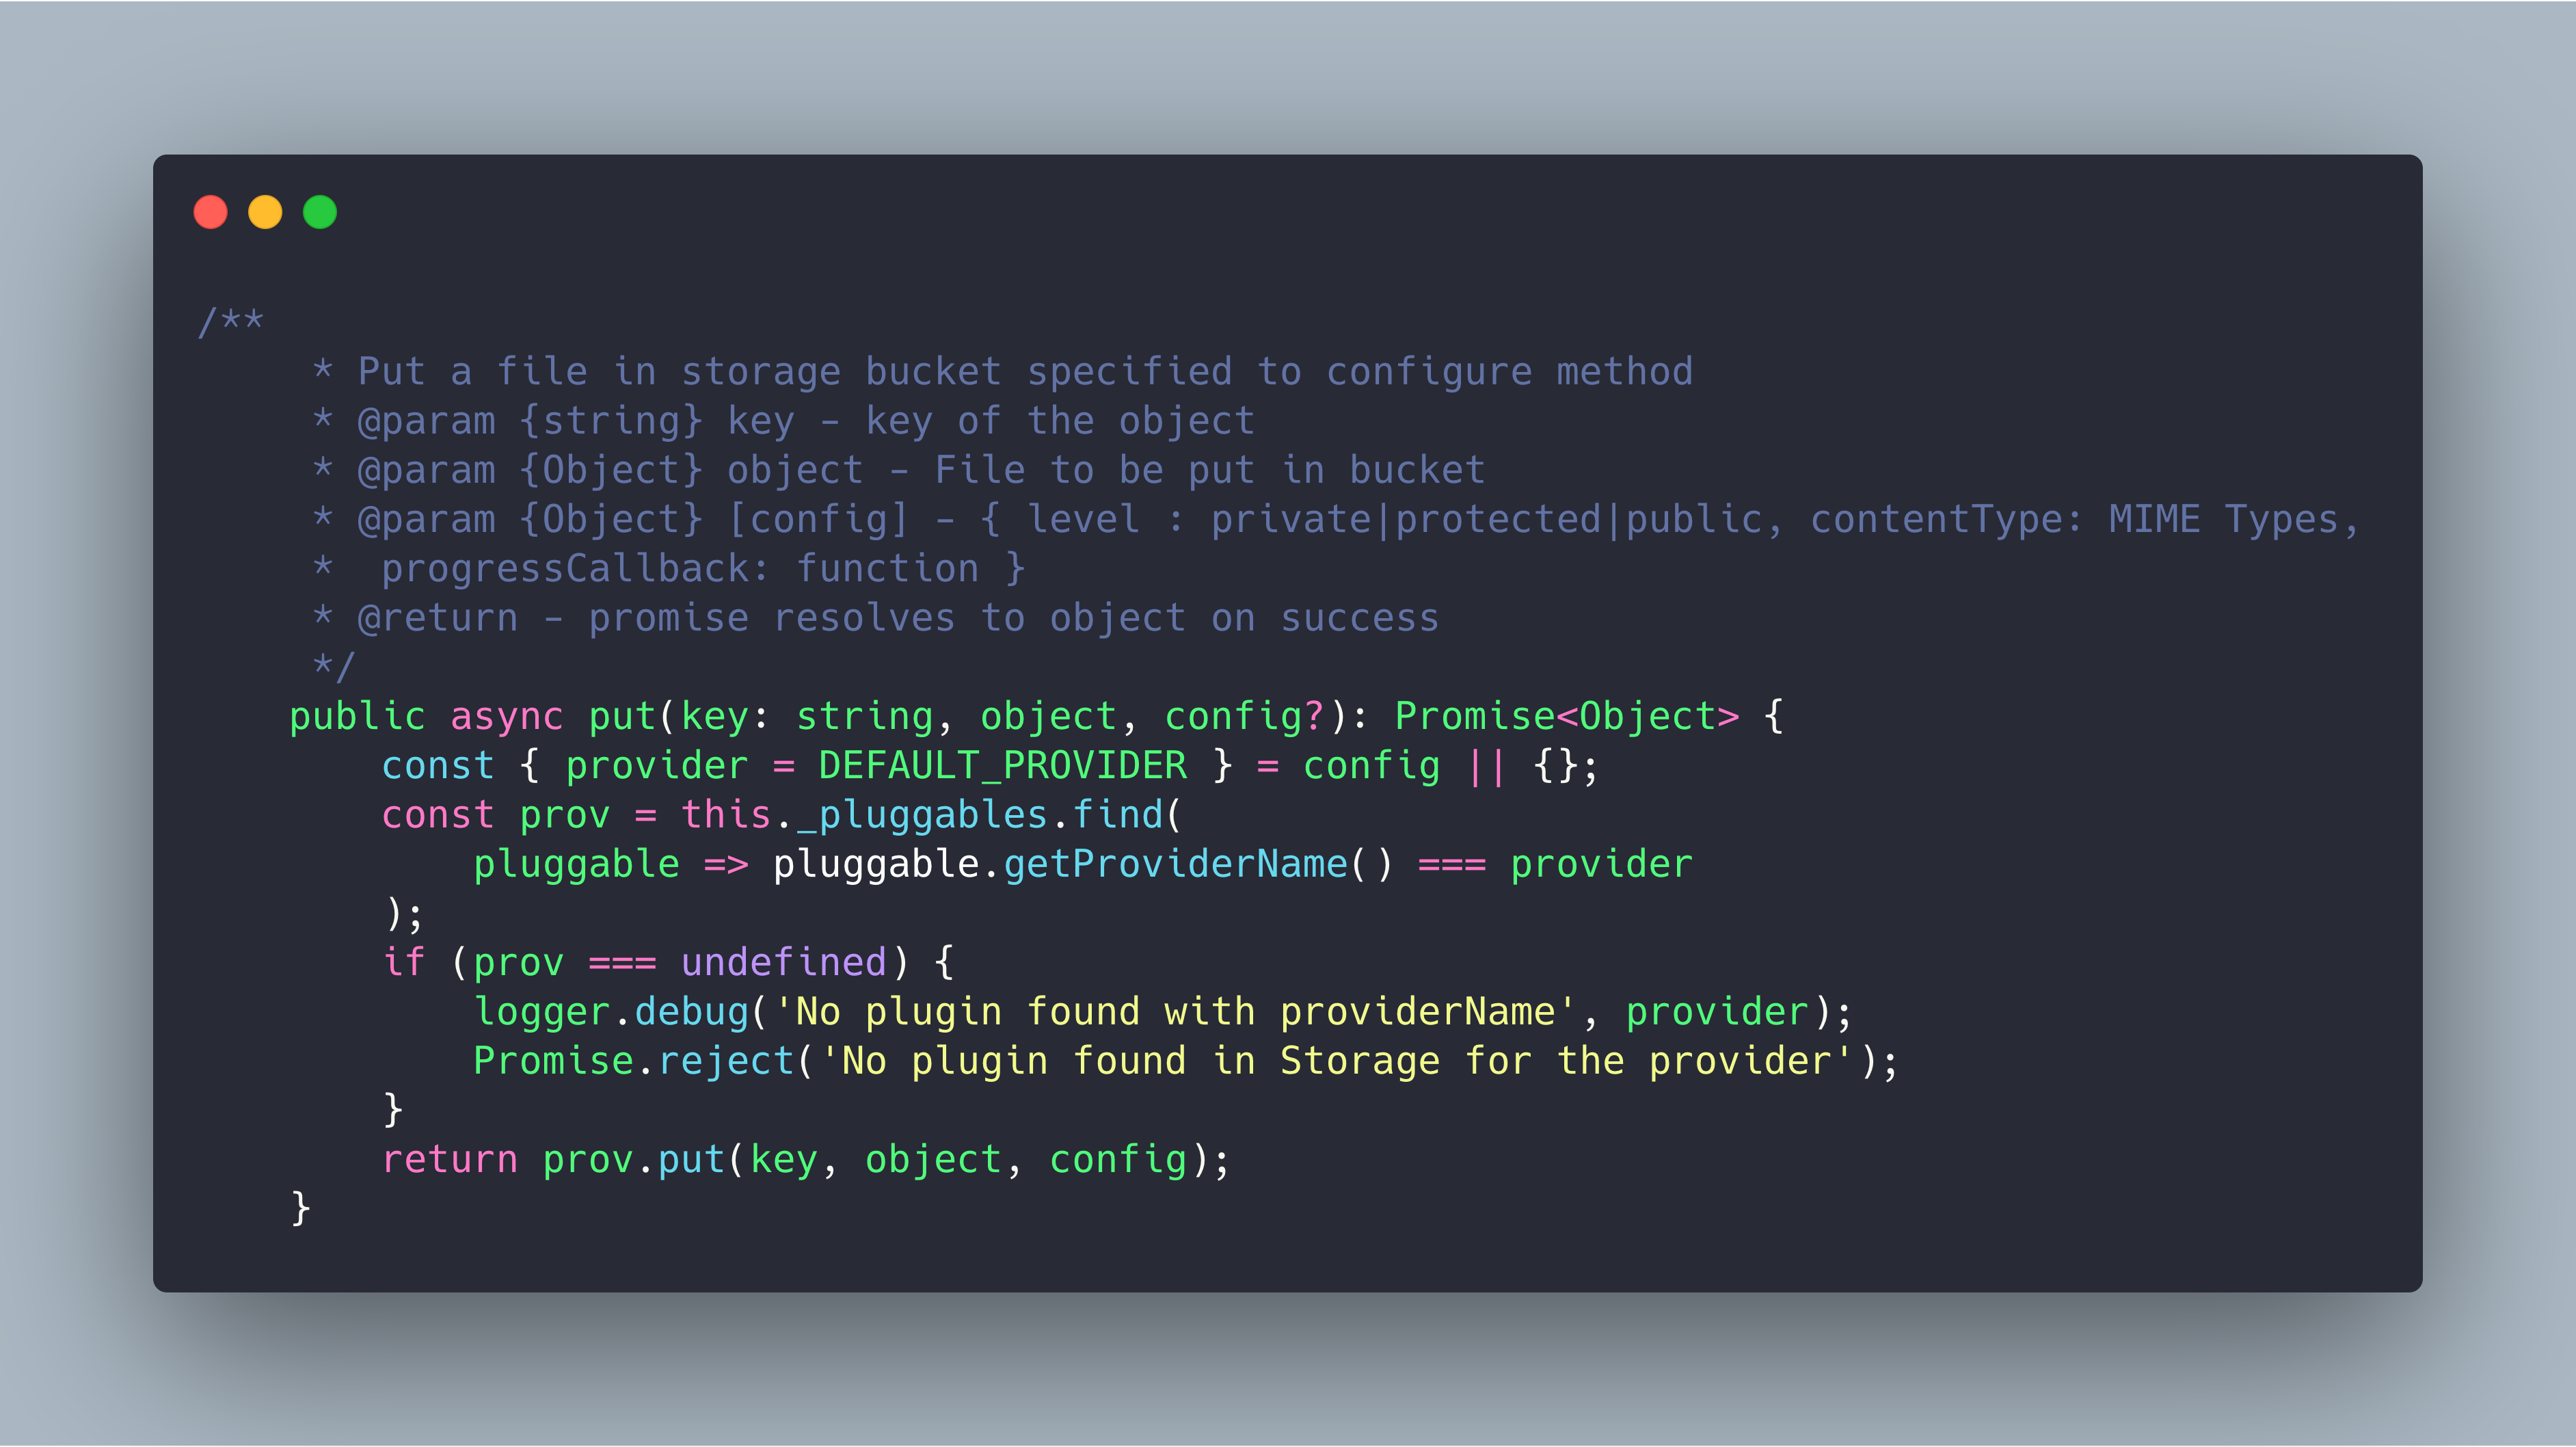
https://github.com/aws-amplify/amplify-js/blob/master/packages/storage/src/Storage.ts
The S3 Provider that Amplify is using has many other parameters that you can use and is not provided by the documentation. If you want to check it out, you can find all the parameters in the source code.
After adding the object and entering the bucket name I was able to upload it to my custom bucket.
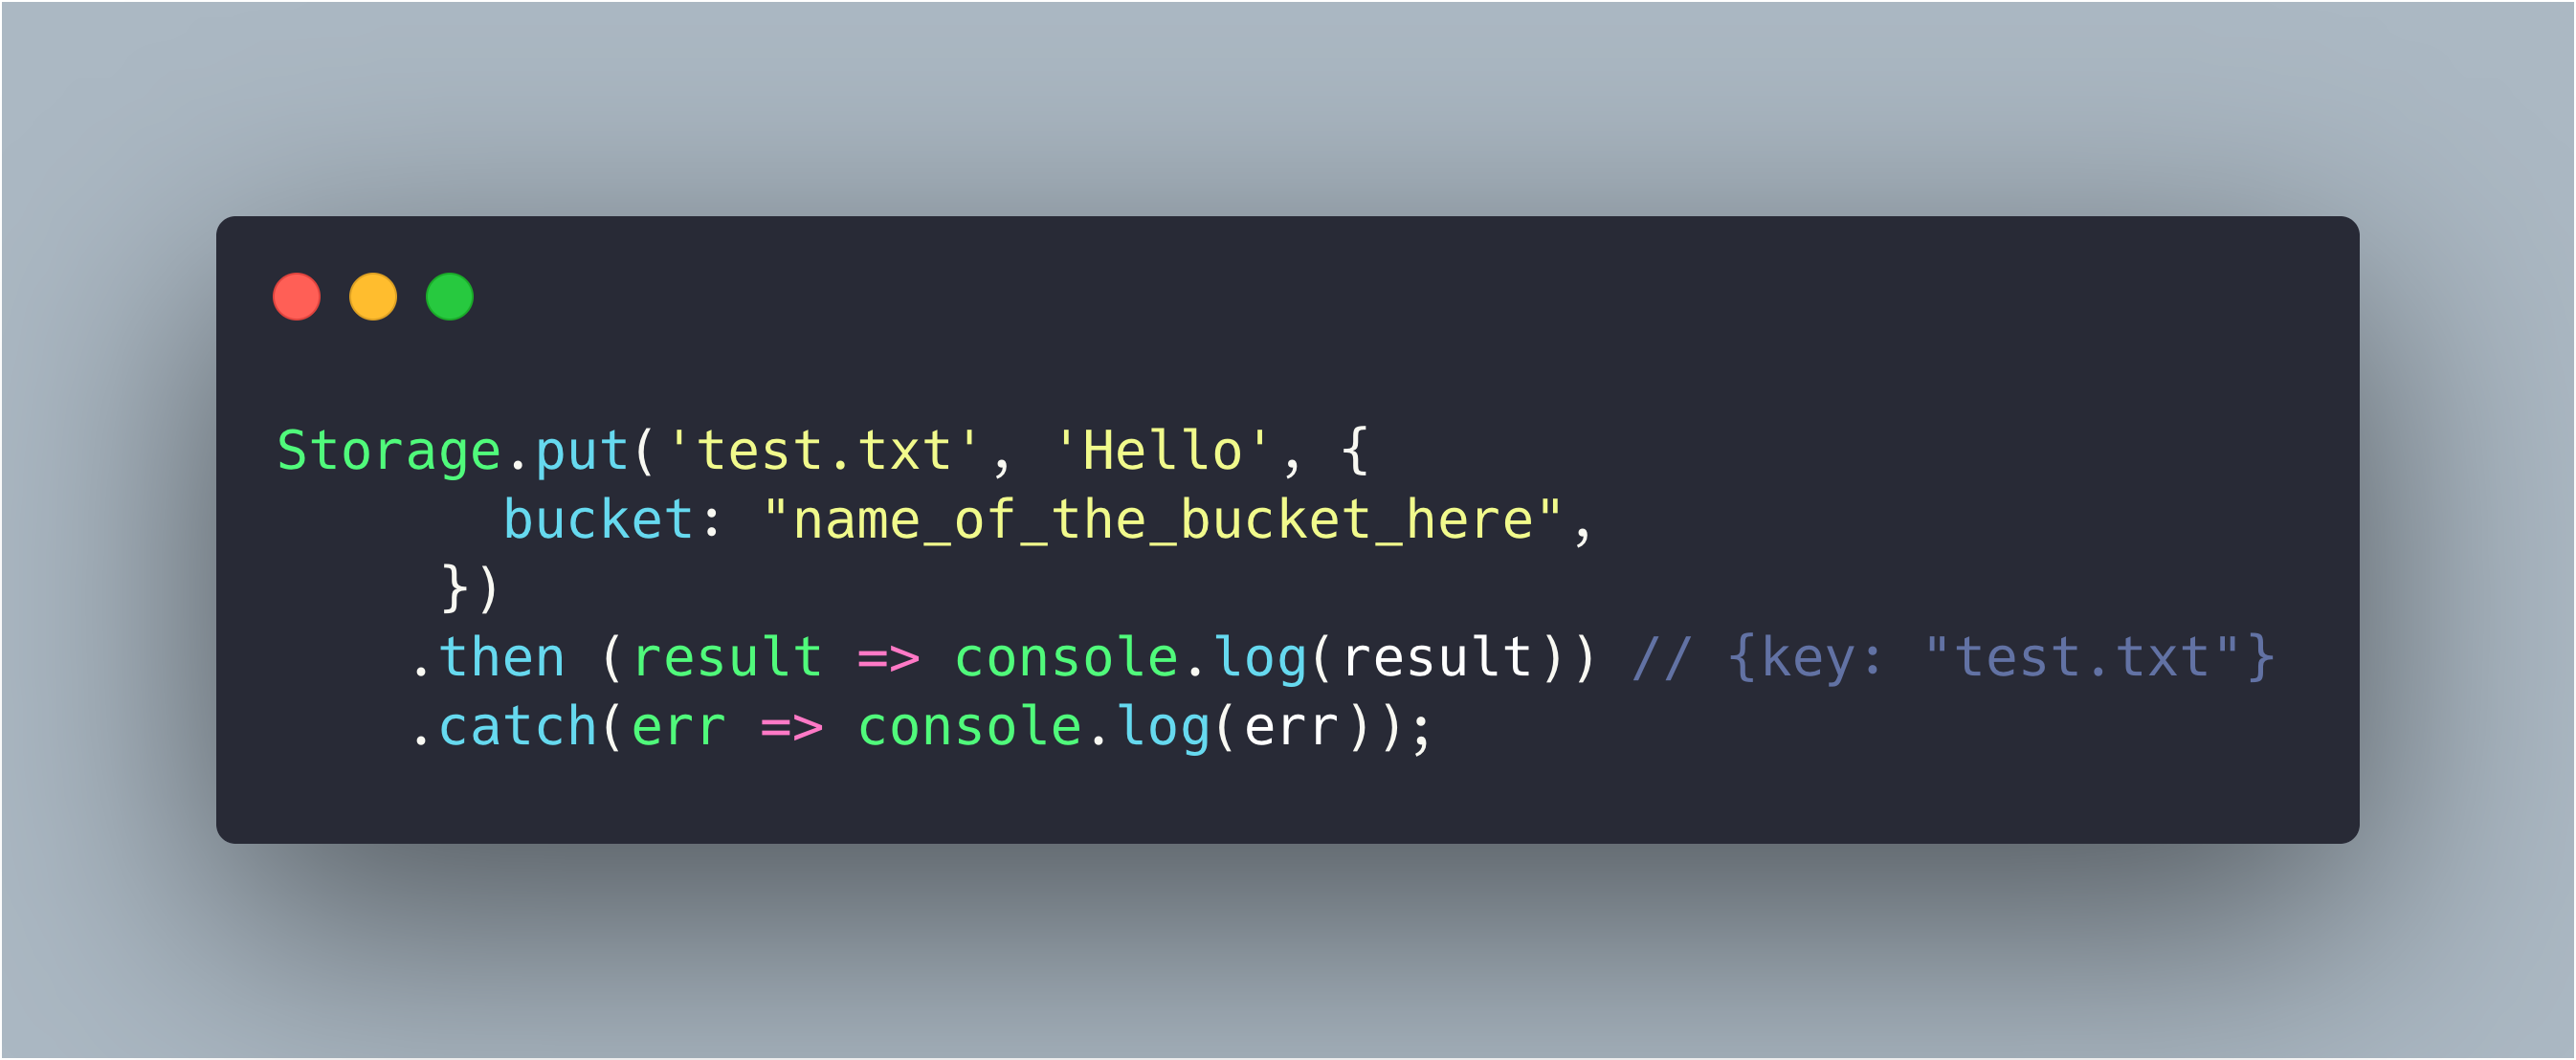
If you created your bucket directly on the console, you might need to enter some security policies. You can follow the official documentation to do this.
I don’t know why the official Amplify documentation did not cover, I hope that in the future they will be able to tidy up the documentation and make it more complete so that people who are starting to use it have easier setup. I hope you enjoyed it, leave your comment below if you have any questions.
Cheers.
At DNX Solutions, we work to bring a better cloud and application experience for digital-native companies in Australia. Our current focus areas are AWS, Well-Architected Solutions, Containers, ECS, Kubernetes, Continuous Integration/Continuous Delivery and Service Mesh. We are always hiring cloud engineers for our Sydney office, focusing on cloud-native concepts. Check our open-source projects at https://github.com/DNXLabs and follow us on Twitter, Linkedin or Facebook.
No spam - just releases, updates, and tech information.
Stay informed on the latest
insights and tech-updates